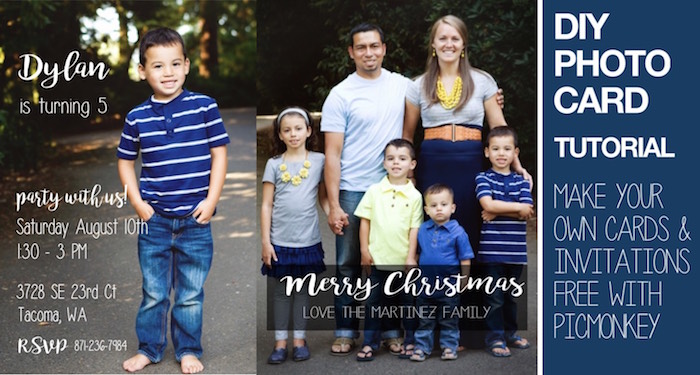
How to Make Photo Cards or Invitations DIY
This is an easy tutorial on how to make photo cards or invitations for free using the website PicMonkey. It is actually pretty simple to use and can save you a lot of money! You could use PicMonkey to make graduation announcements, save the date, Christmas cards, birthday invitations, baby shower or wedding shower invitations, or even make a text overlay for a picture to hang on your wall. It’s totally free to use too! I like to make invitations for church events I help to plan and then print them on 4×6 photos for about $.10 each! But I have also made baptism announcements, birthday invitations, & Christmas cards. It is so fun to use. To make things easier just follow our instructions below on how to make photo cards or invitations until you get the hang of the website.

How to add text to your photo
- Go to PicMonkey here.
 Click on this edit icon at the top of the page.
- Upload the photo you would like to edit
 Click on the Tt button on the left and a text.
- Select a font and up above the fonts click “Add Text”
- A text box will appear in the center of your picture.
- Click in the text box and write what you would like.
- Click outside of the text box on the photo to indicate that you are done typing and drag the text box to where you would like it to be on the invitation.
- Use the text box to change the color, alignment, and size of your text.
- You can also click and drag the corners of the text box to change the size.
- Rinse and repeat until your invitation looks the way you would like it. Don’t be afraid to use many text boxes.

- When you are finished click the save button located above your image.
- To the left of the image you will be able to change the file name if you like and click the save button.
Visit Brittany @ Paper Trail Design’s profile on Pinterest.
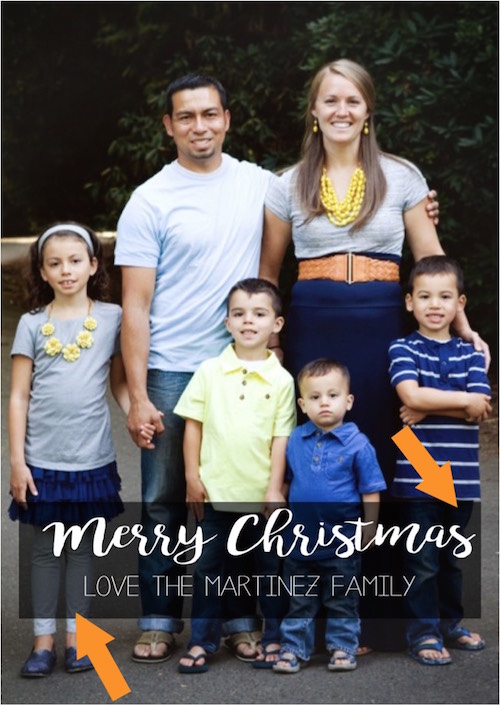
How to add an opaque box to make text easier to read
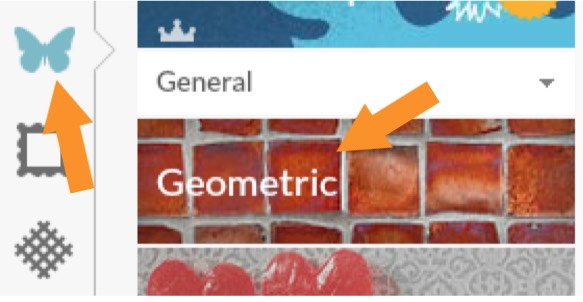
- In PicMonkey click on the butterfly on the left side of the screen, then click “Geometric”
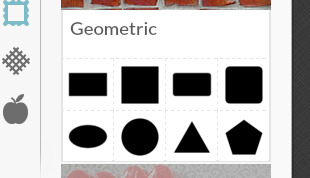
- Select the shape of the overlay that you want. Most likely you will want a rectangle.
- A black rectangle will appear near the center of your image.
- Drag the rectangle to where you want it to be and resize it to the size you would like. You can also change the angle using the circle on the top.
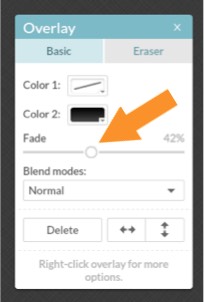
- In the overlay box that will pop up, slide the fade button to change the opacity of the box. Depending on how bright or dark my photo is I like my box to have a 30-70% fade.
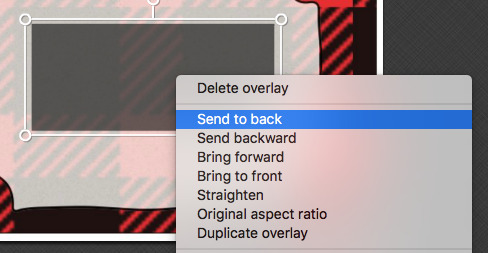
- If you right click the box you will have the option to change the position of the box. If you created your text first, you might want to right click the text and “Bring to front” so that the text is positioned on top of the box and not behind it. There is also an option to duplicate the box making it easier if you need more than one.
Other Posts You Might Like
Did you like our article “How to Make Photo Cards or Invitations DIY”? You might also like:
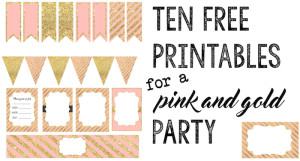
These pink and gold free printables are fun for a feminine birthday party or baby shower.
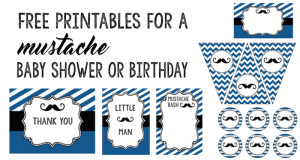
Here are some fun mustache birthday or baby shower printables. This is such a fun theme for a variety of ages.
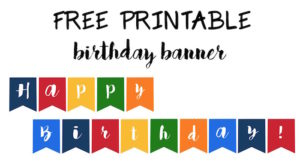
This free printable birthday banner matches perfectly with our cupcake toppers.
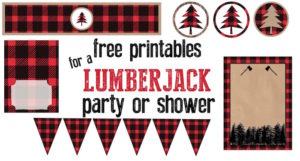
The beard is in! Throw and outdoorsy lumberjack party filled with flannel, trees, and nature.
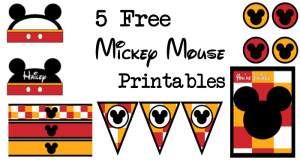
Here are some fun Mickey Mouse themed free printables for your little mouskateer in the house.
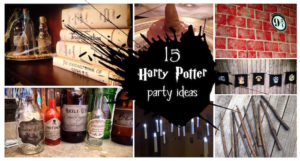
Over 15 Harry Potter party ideas. Throw a party for your Harry Potter fan in the house.

This page may contain affiliate links. When you click them you support Paper Trail Design. Thank you!
Pin this Post to Pinterest using the “Pin it” button below!

2 thoughts on “How to Make Photo Cards or Invitations DIY”